Creating an Image for a Project in OpenStack
- date:
2018-04-26
To specify an image to upload to the Image Service for a project in your system by using the OpenStack dashboard:
In OpenStack, select . The Images window is displayed.
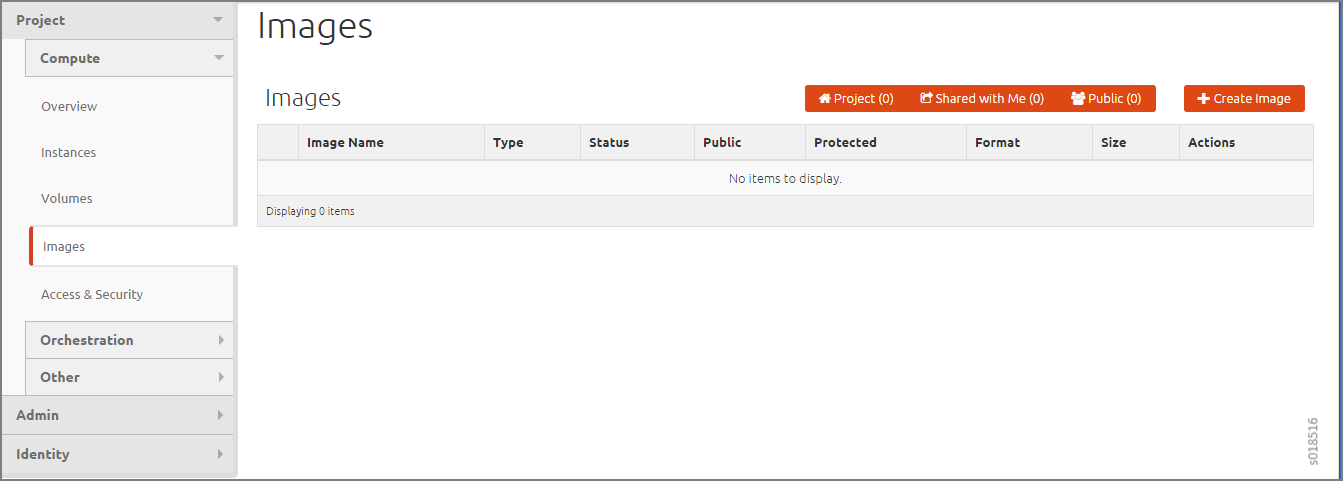
Make sure you have selected the correct project to which you are associating an image.
Click Create Image.
The Create An Image window is displayed.
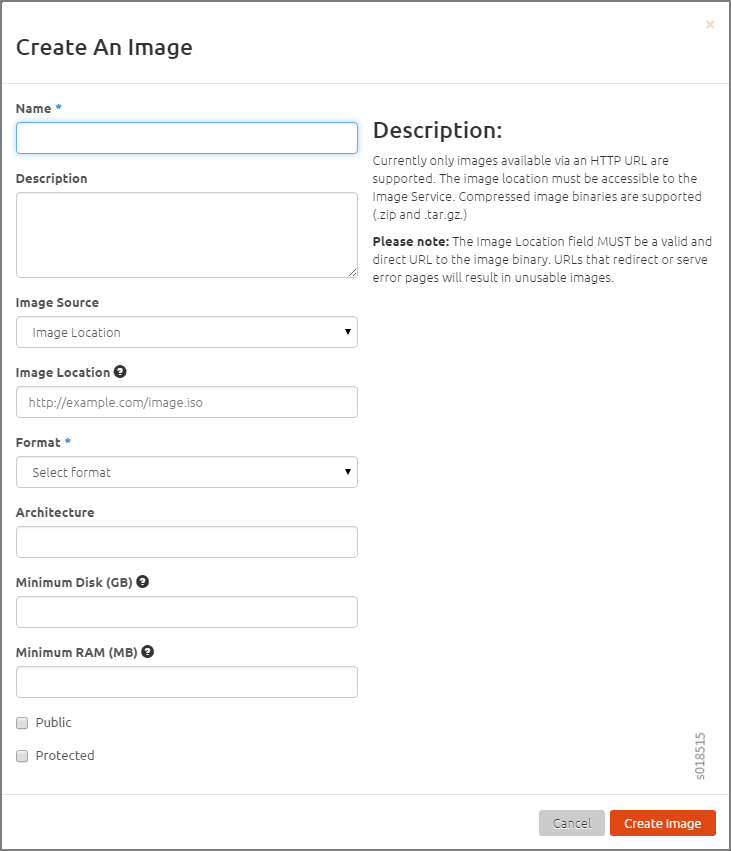
Complete the fields to specify your image. Table 1 describes each of the fields on the window.
Note
Only images available through an HTTP URL are supported, and the image location must be accessible to the Image Service. Compressed image binaries are supported (
*.zipand*.tar.gz).Table 1: Create an Image Fields
Field
Description
Name
Enter a name for this image.
Description
Enter a description for the image.
Image Source
Select Image File or Image Location. If you select Image File, you are prompted to browse to the local location of the file.
Image Location
Enter an external HTTP URL from which to load the image. The URL must be a valid and direct URL to the image binary. URLs that redirect or serve error pages result in unusable images.
Format
- Required field. Select the format of the image from a list:
AKI– Amazon Kernel Image
AMI– Amazon Machine Image
ARI– Amazon Ramdisk Image
ISO– Optical Disk Image
QCOW2– QEMU Emulator
Raw– An unstructured image format
VDI– Virtual Disk Imade
VHD– Virtual Hard Disk
VMDK– Virtual Machine Disk
Architecture
Enter the architecture
Minimum Disk (GB)
Enter the minimum disk size required to boot the image. If you do not specify a size, the default is 0 (no minimum).
Minimum Ram (MB)
Enter the minimum RAM required to boot the image. If you do not specify a size, the default is 0 (no minimum).
Public
Select this check box if this is a public image. Leave unselected for a private image.
Protected
Select this check box for a protected image.
When you are finished, click Create Image.